Using SchellingBoard as an attendee
The three phases
An event moves through up to three phases, and what you can do depends on which one it is in. Buttons that belong to another phase are greyed out rather than hidden — hover one to see when it opens.
| Phase | What you can do |
|---|---|
| Proposal | Propose sessions, edit your own, and comment on any of them. Voting is not open yet. |
| Voting | All of the above, plus vote on proposals. Vote counts stay hidden. |
| Scheduling | Vote counts become visible; put proposals on the schedule, book empty slots, and RSVP. Proposing and voting are over. |
Nothing you do before the scheduling phase commits you to anything: proposing a session is not a promise to give it, and voting is not a promise to attend. RSVPs are the exception — see RSVP.
Organizers can skip phases, and an event with no phase dates at all is simply always in the scheduling phase.
Pick your name
Open the event link, enter the site password if asked, then pick your name from the list. By default this isn’t a login — anyone can pick any name — so please only pick your own. If you’d rather it were a login, see Protect your name below.
Propose a session
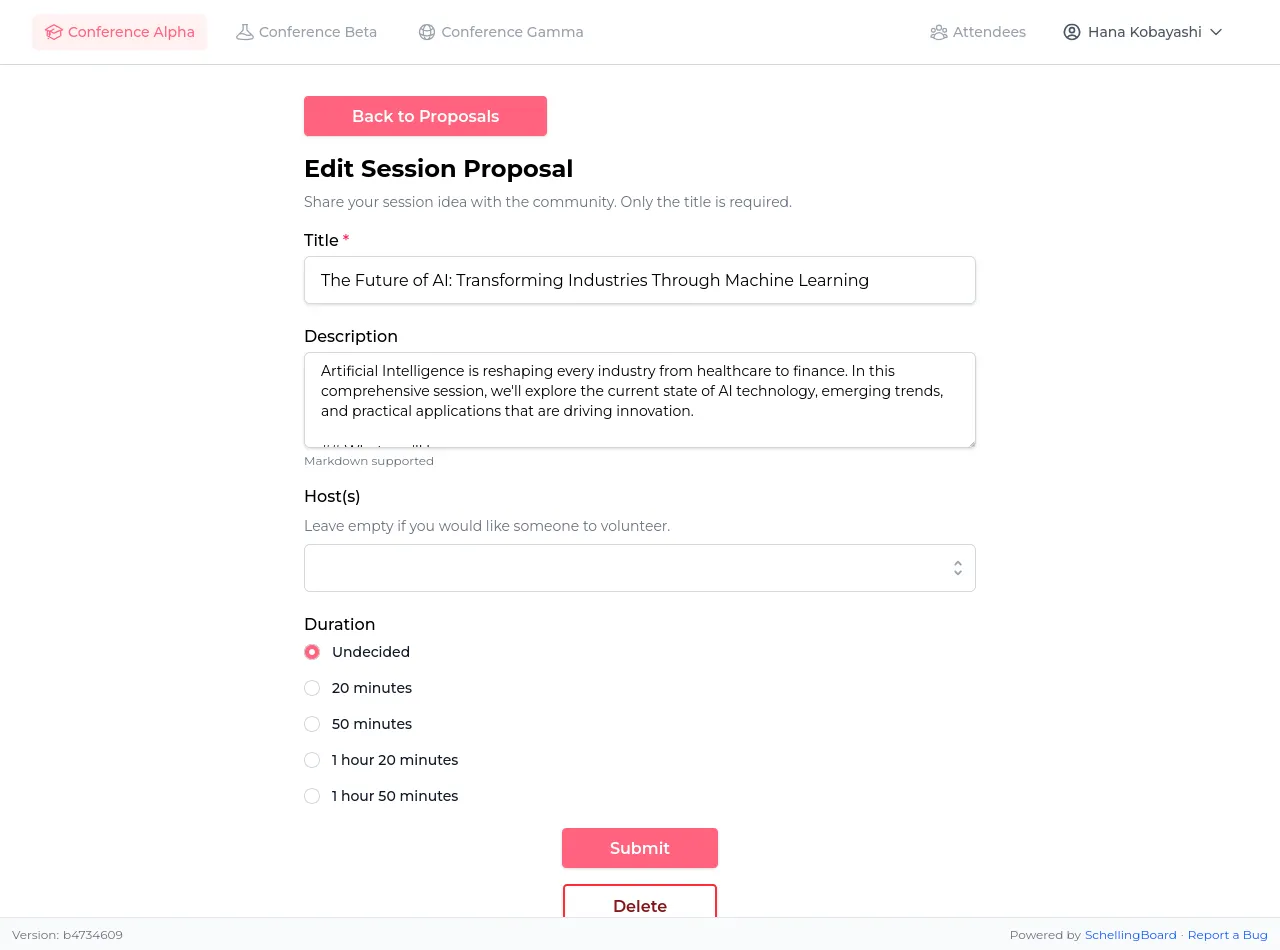
You can browse, search, and sort existing proposals at any time. During the proposal phase, click “Add Proposal” to suggest a session: title, description, and optionally co-hosts. You can edit your own proposals until scheduling starts. Proposing is not a commitment — a proposal only becomes a real session once someone puts it on the schedule.
A proposal doesn’t need a host. Leaving the host field empty is a way of saying “I’d like someone to offer this” rather than “I’ll give this” — a request instead of an offer. Anyone who can give such a session takes it on by editing the proposal and adding themselves as a host; nobody’s permission is needed.
Description fields accept Markdown. A small toolbar above the box adds bold, italics, links, lists, quotes and code for you, and a Preview tab shows how the text will look before you save.
Discuss a proposal
Open a proposal to see its comments. Pick your name first, then leave a
comment or reply to someone else’s — a good place to ask what background is
assumed, offer to co-host, or work out whether two proposals should merge.
Replies are threaded, and the [-] next to a comment folds it and everything
under it away.
Like a comment to agree with it without adding another comment to the thread. Click the like count next to the button to see who liked it, and click “Liked” again to take your like back.
You can edit or delete your own comments. Deleting is permanent — there is no history and no undo. If the comment already has replies, a “Comment deleted” placeholder stays behind so the replies still make sense.
Each comment’s timestamp links to that comment alone, so you can point someone at one particular remark.
Vote
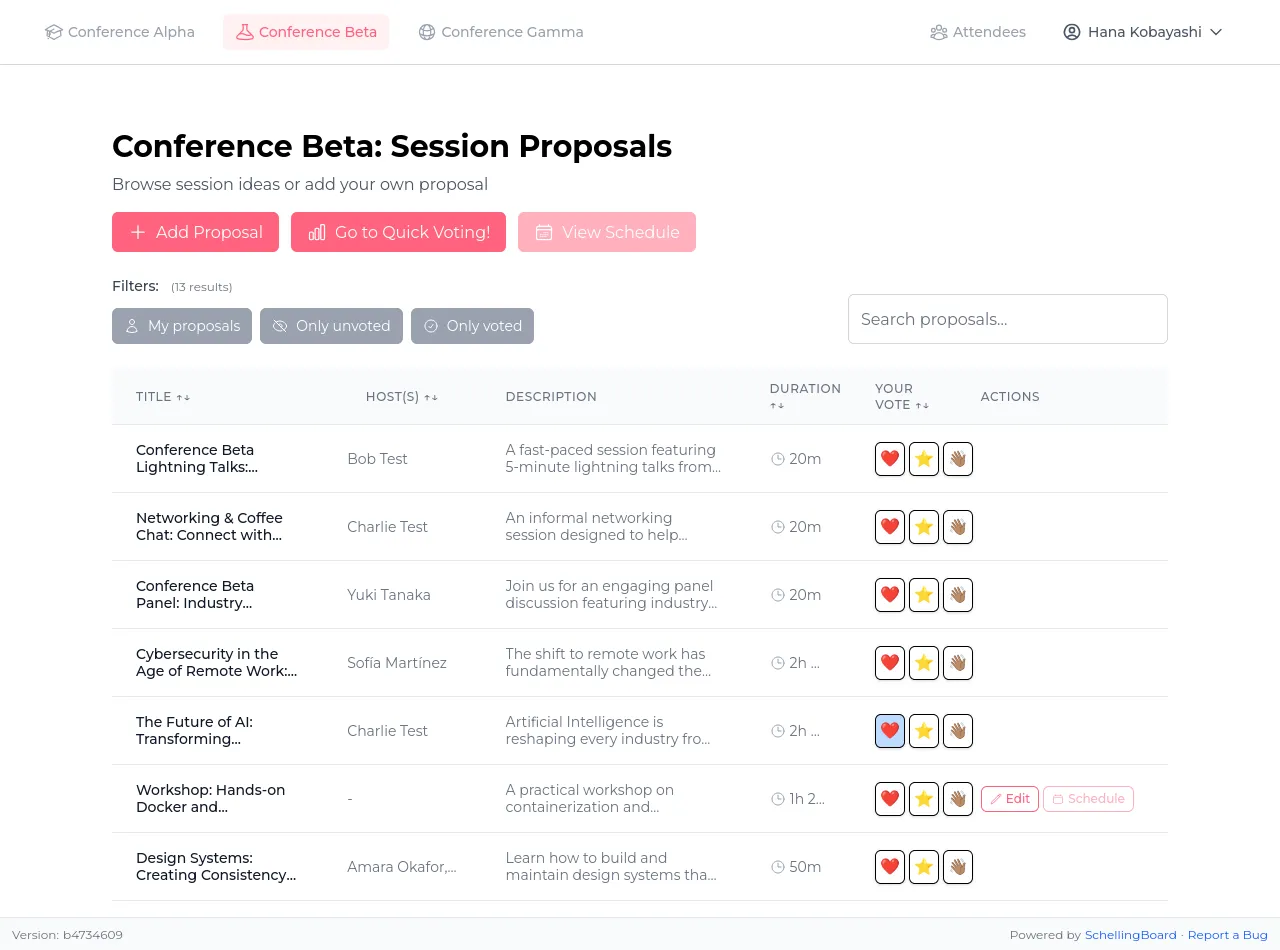
During the voting phase, react to each proposal with ❤️ Interested, ⭐ Maybe, or 👋 Skip. Click your choice again to remove it. Voting is not a commitment: when you vote you have no idea what else will be running at the same time, so nobody reads your votes as a promise to turn up.
The fastest way to vote
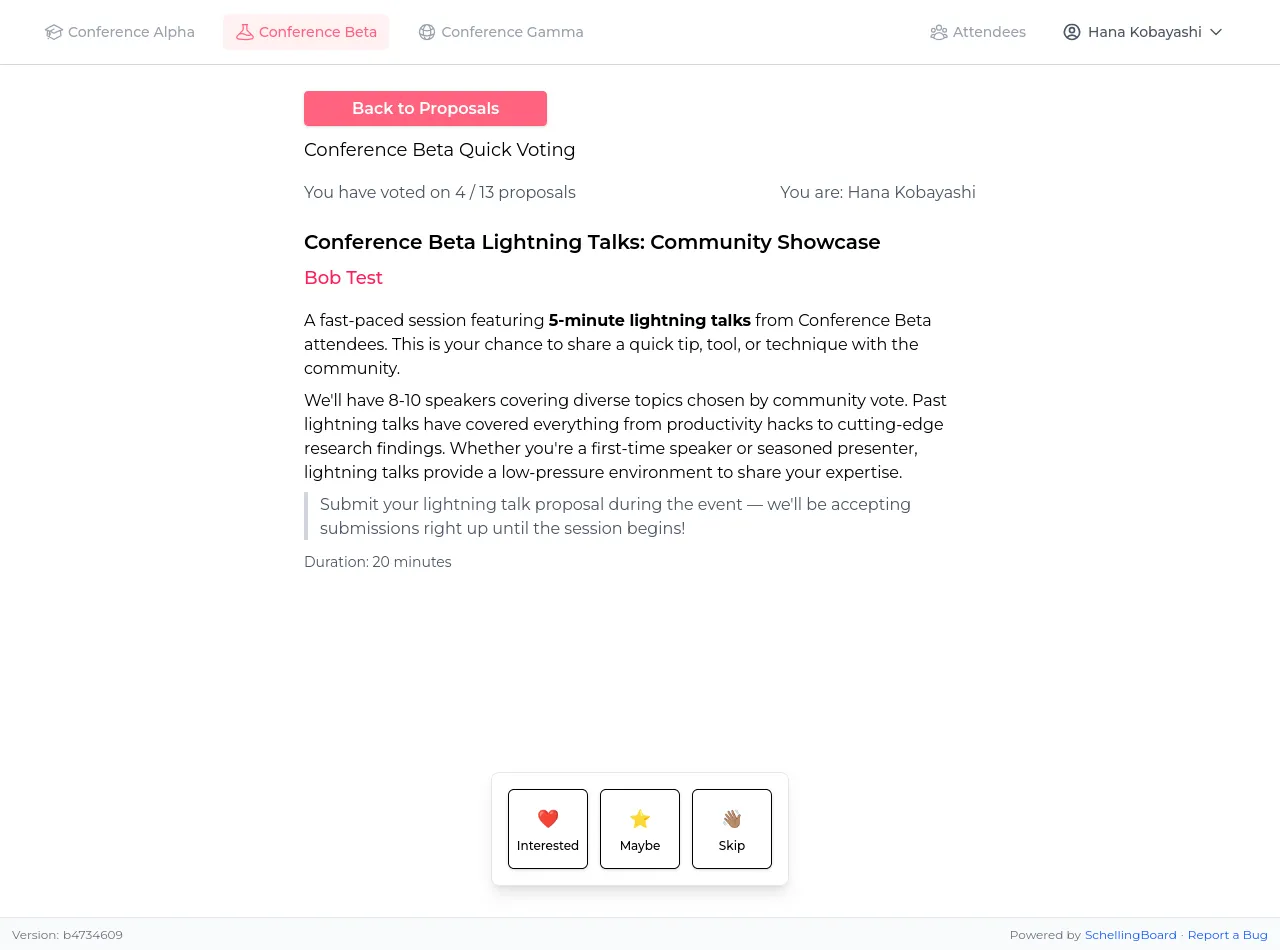
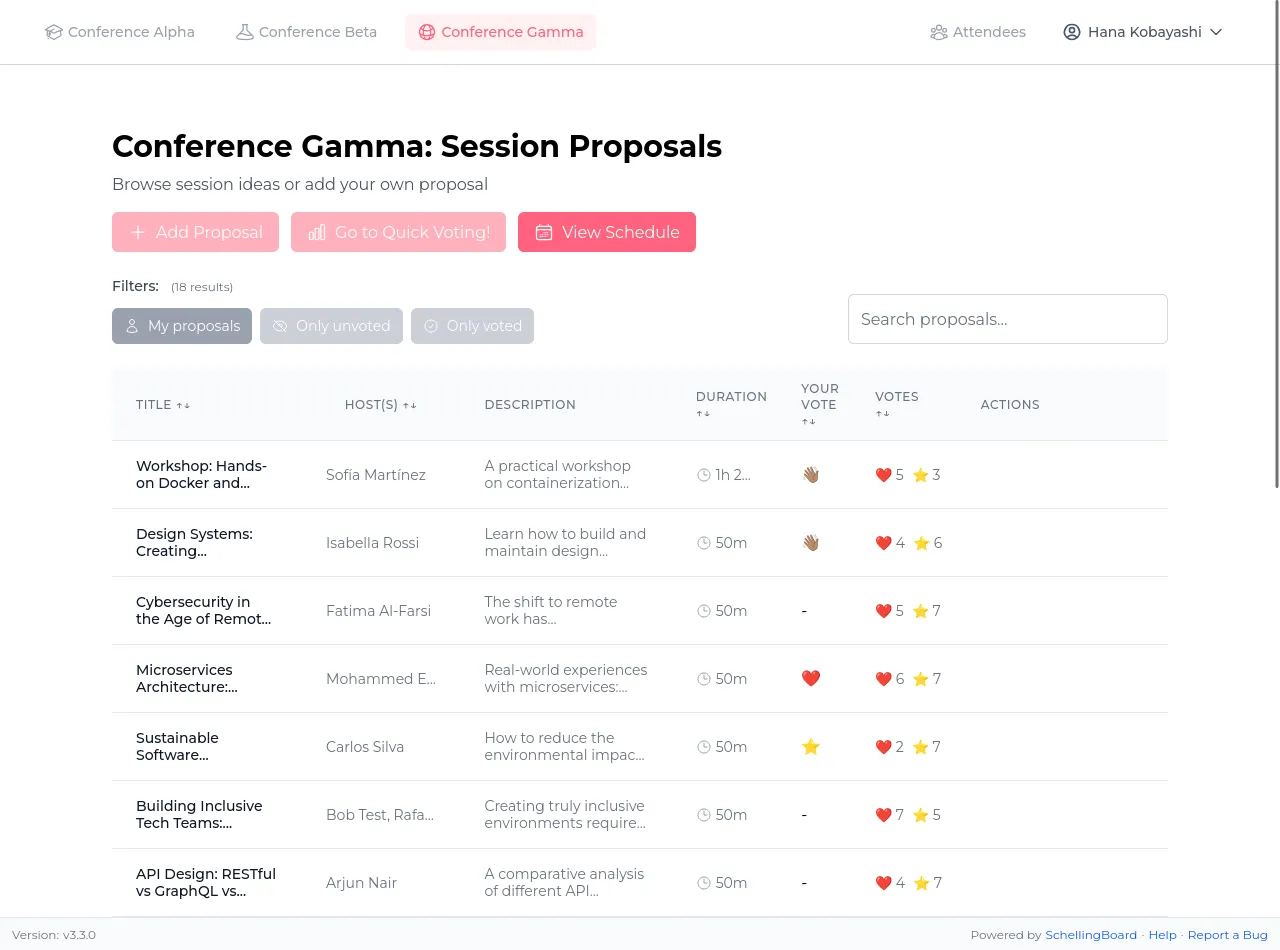
Click “Go to Quick Voting!” on the proposals page. It shows you one proposal at a time, skipping the ones you have already voted on, and counts down how many are left.
You can see and change your own votes at any time while voting is open: your choice is highlighted on each proposal, and the “Only voted” and “Only unvoted” filters on the proposals page narrow the list to either group. You don’t vote on your own proposals — the buttons aren’t shown there.
Why the vote buttons are greyed out
Greyed-out vote buttons mean voting isn’t available to you right now. Hover one to see why:
- “Voting will be enabled at …” — the event is still in the proposal phase. Add and discuss proposals now; come back to vote when it opens.
- “Select a user first” — you haven’t picked your name yet.
- “The voting phase is over” — scheduling has started. Vote counts are visible now.
Results stay hidden until voting closes
Nobody can see the vote counts while voting is running, so early votes can’t sway later ones. The counts appear for everyone when the scheduling phase starts.
Only the counts are ever shown — never who voted which way. Your own votes are visible to you alone; a host sees how many people were interested in their proposal, not their names, and neither does anyone else, organizers included.
The schedule
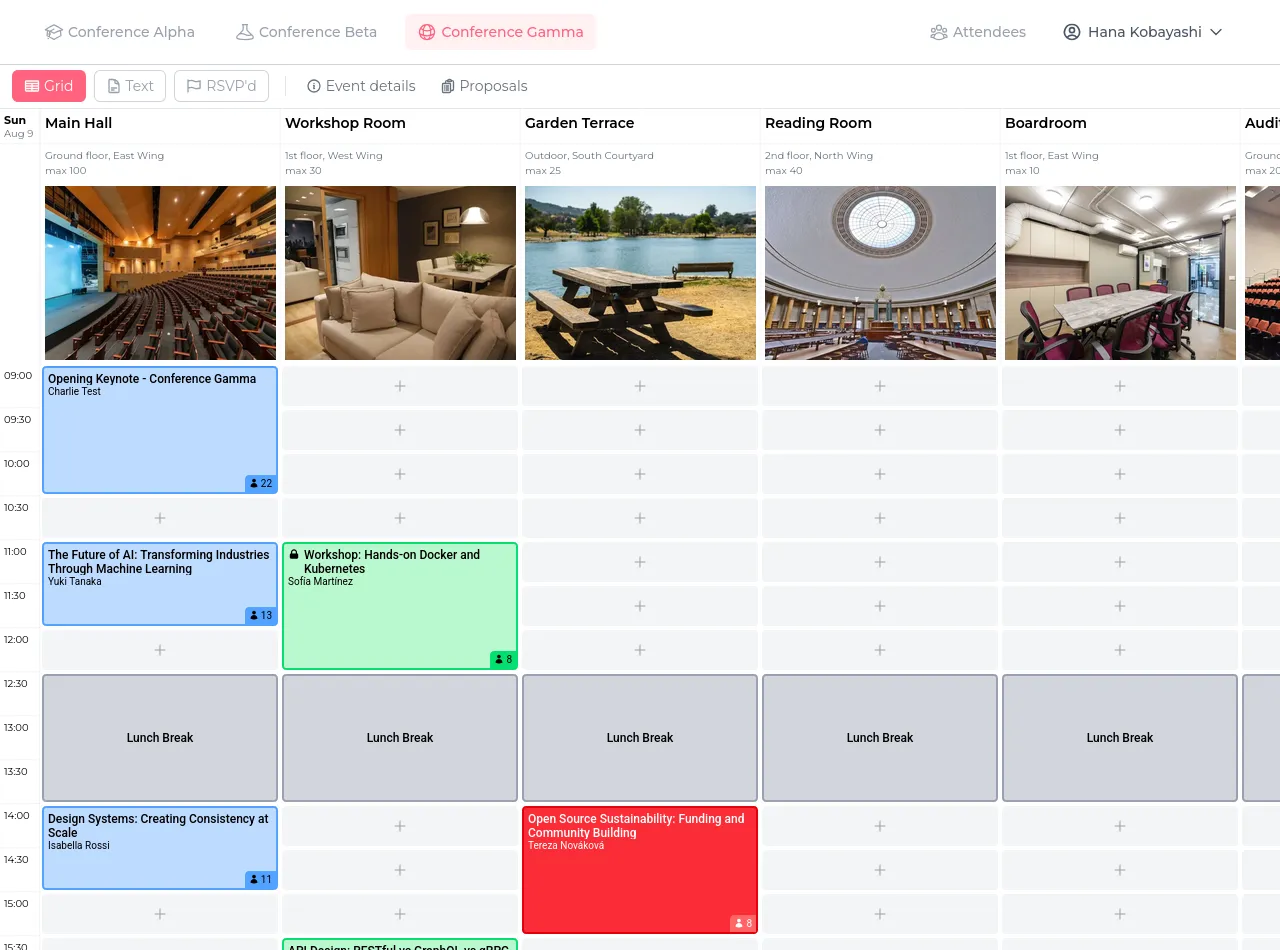
Once scheduling opens, proposals turn into real sessions on the grid. Proposing and voting close.
Put a proposal on the schedule
Two ways, whichever you find first:
- From the proposal. Click “Proposals” at the top of the schedule, then “Schedule” — either in the proposals table or on the proposal’s own page. Pick a room and a time slot, and save.
- From the grid. Click an empty slot in a bookable room, then use the “Pre-fill from proposal” dropdown to fill the form from one of your proposals. You can also ignore it and just book the slot with a brand-new session that was never proposed.
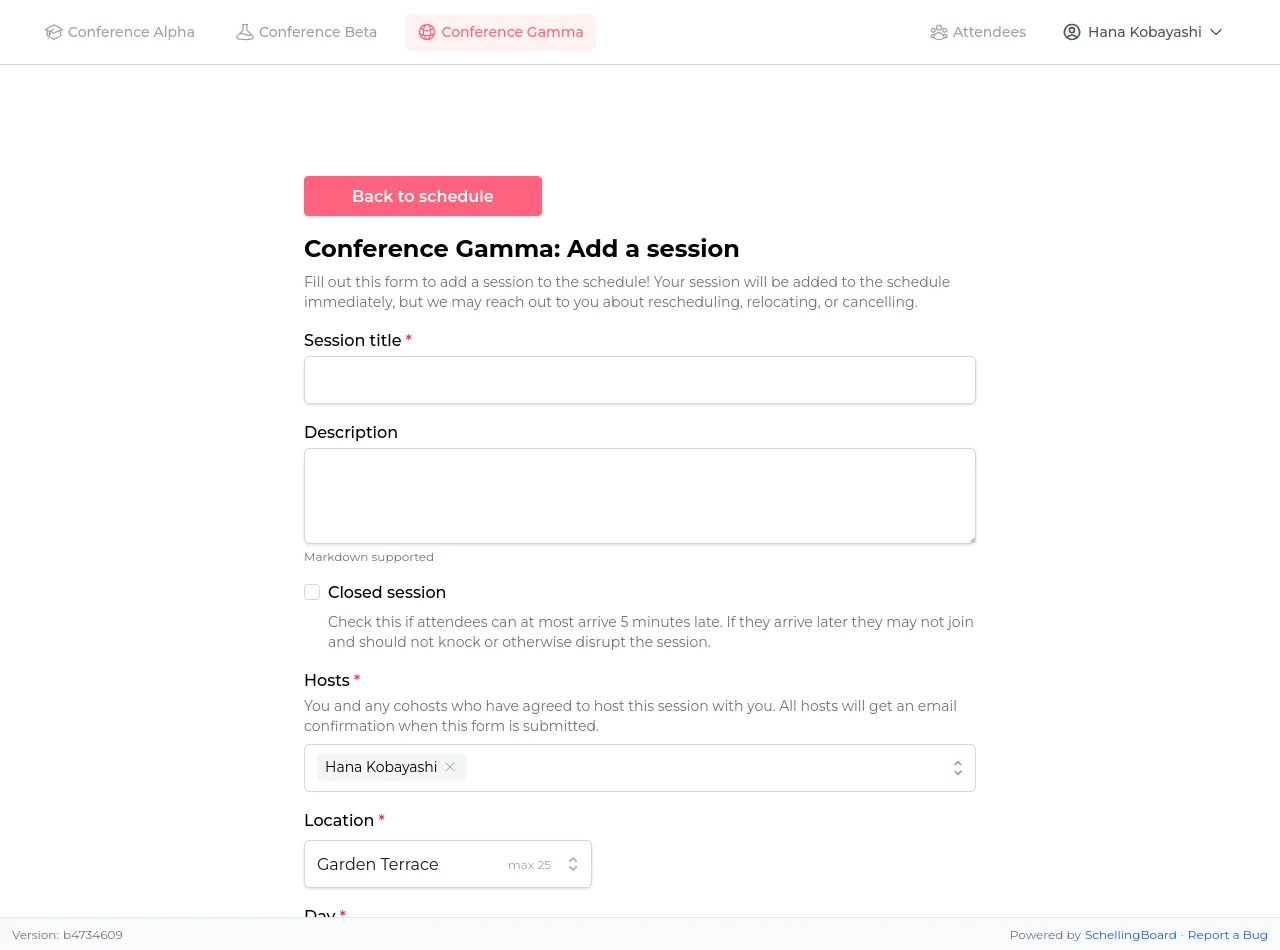
Two things worth knowing:
- Proposals with no host are up for grabs. Anyone can schedule one — no permission needed. They show up in your “Pre-fill from proposal” dropdown alongside your own.
- The same proposal can be scheduled more than once, for instance in two slots if interest is high and you’re happy to give it twice.
How many people to expect
Vote counts become visible when scheduling opens. They tell you roughly how much interest there is — not how many people will walk in, since voters didn’t know what would end up running against your session.
A rough, unvalidated rule of thumb: divide the ❤️ count by 2 and the ⭐ count by 5, and add them up. Treat it as a hint for choosing a room size, not a forecast.
RSVP
Click a session to see its details and RSVP.
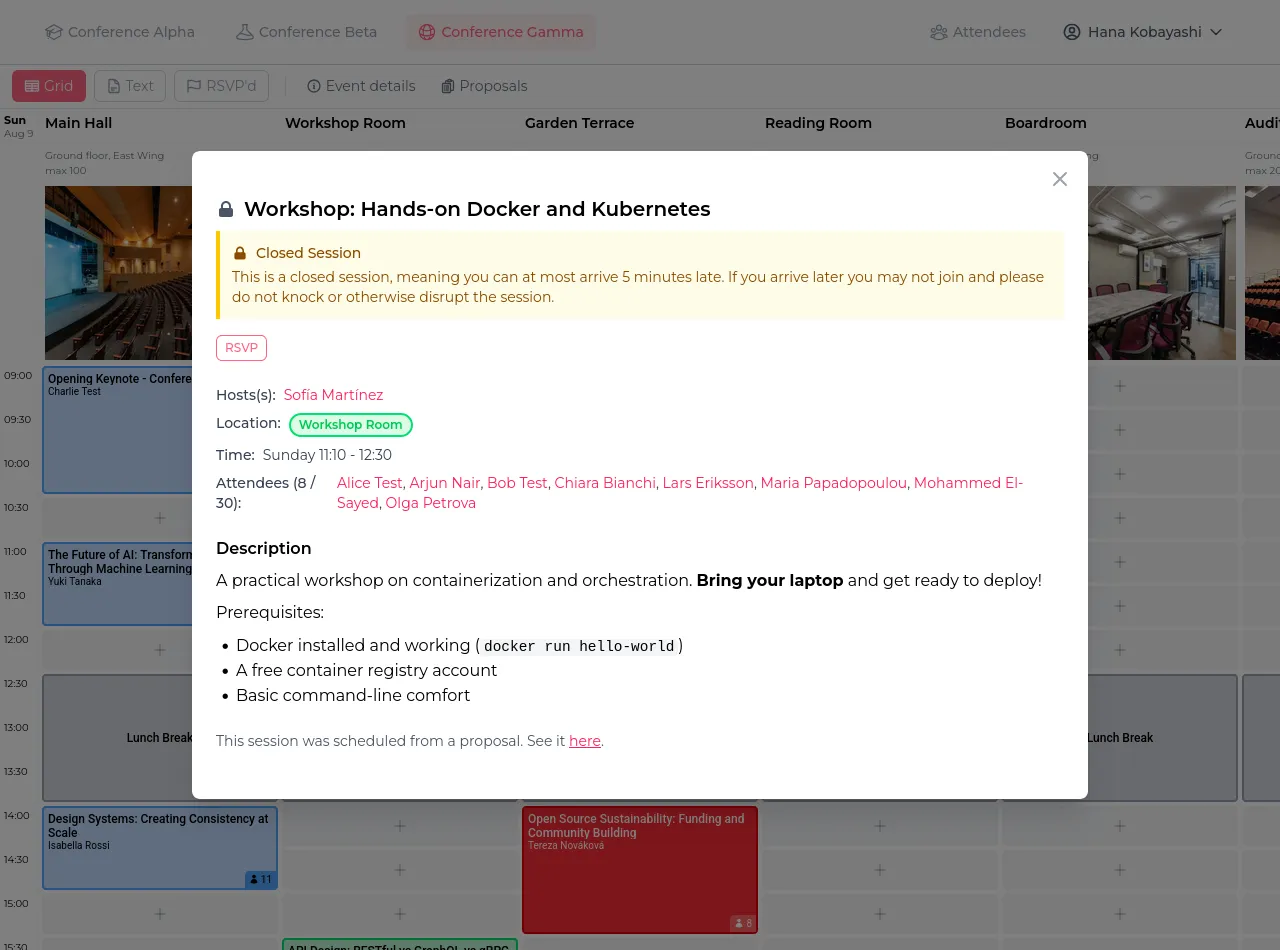
Unlike votes, an RSVP is a commitment — hosts plan around it. If you change your mind, take it back with “Un-RSVP”: someone else may want the place. You’ll be warned if you RSVP to two sessions that overlap.
Depending on how the organizers set the event up, a session’s capacity is either advisory or a hard limit; with a hard limit the button reads “Session full” and no further RSVPs are accepted. A session marked closed warns that you can be at most five minutes late, but doesn’t block your RSVP.
Attendee directory & profiles
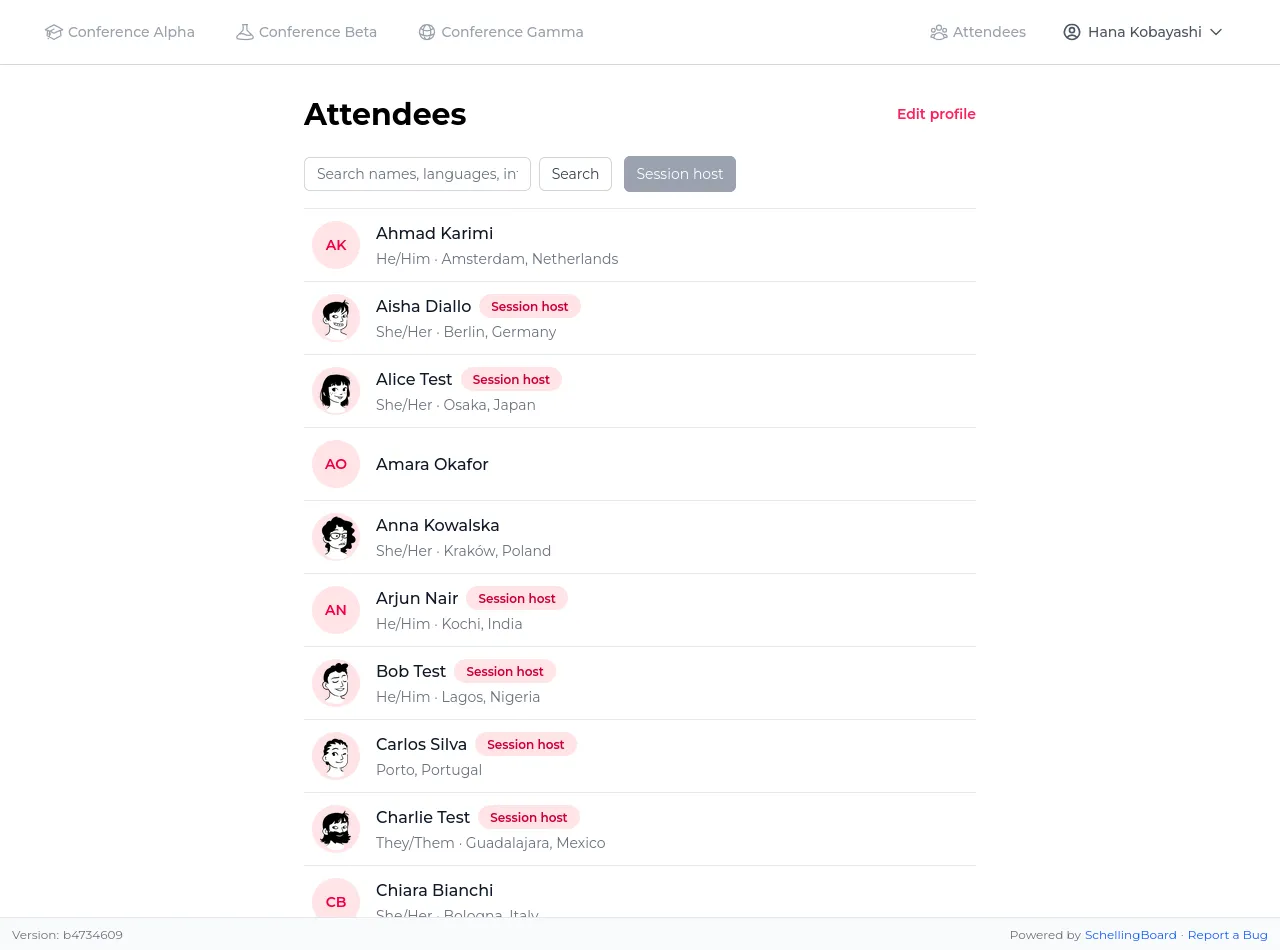
Every attendee gets a profile page with their bio, proposals, and the sessions they’re hosting — click any name wherever it appears to see it. Click their profile photo to see it enlarged. The attendee directory lets you search everyone at the event and see who’s hosting a session at a glance.
Your profile
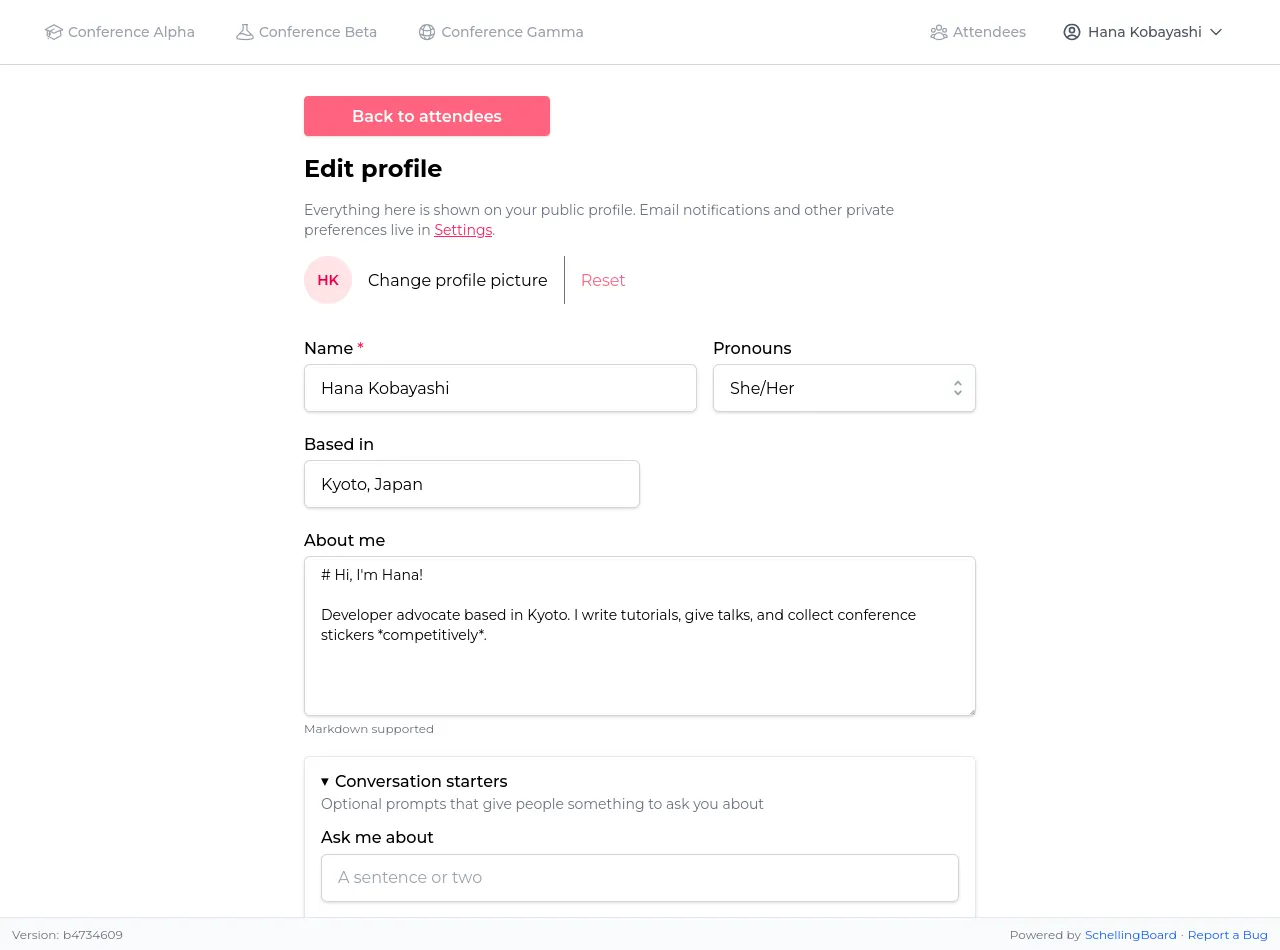
After picking your name, open “Edit profile” to set your About me, pronouns, and avatar. These are visible to other attendees wherever your name appears (proposals, hosting, RSVPs).
Protect your name
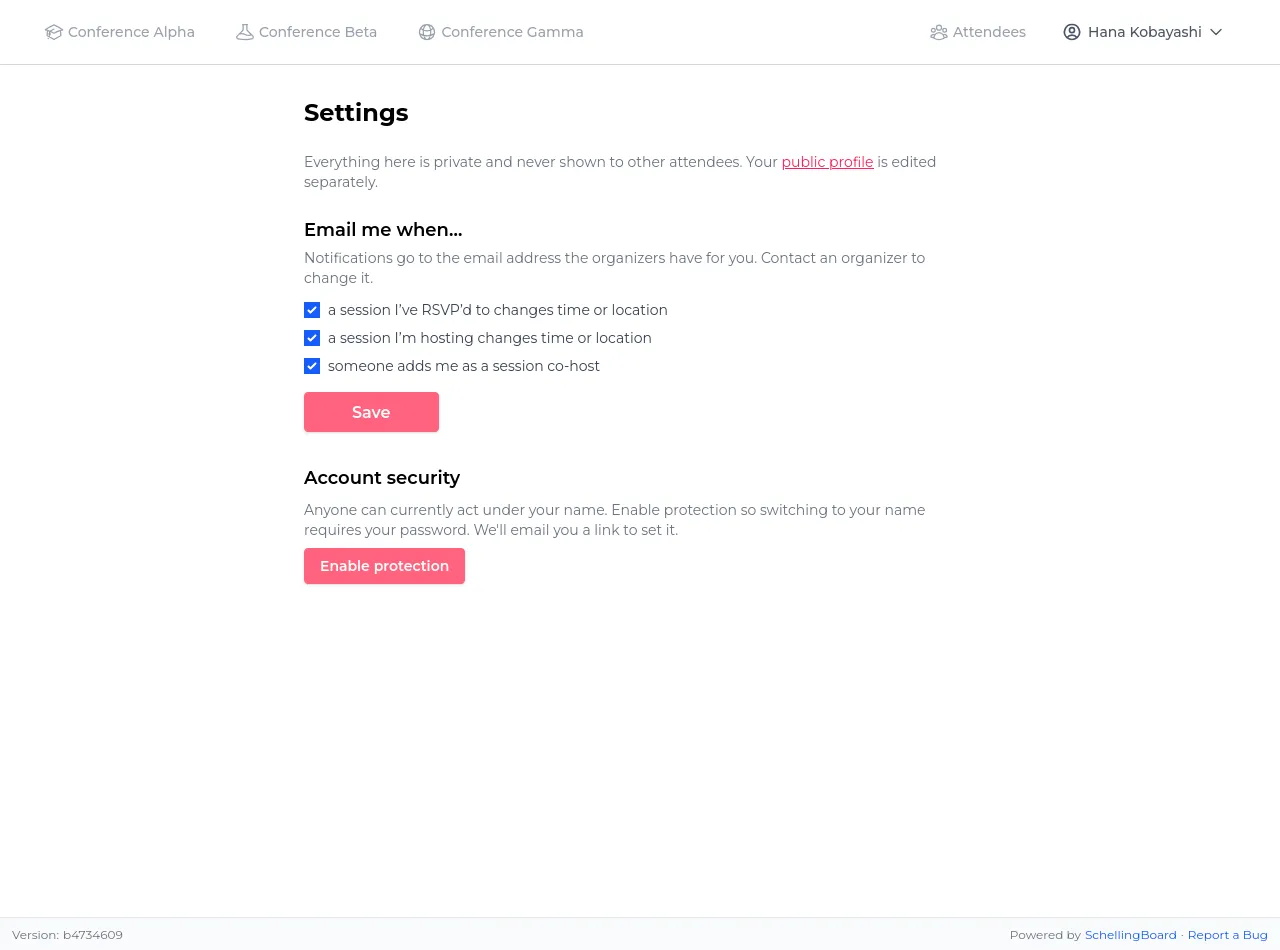
Normally anyone on the site can pick your name and act as you. If you’d rather that took a login, open Settings → Account security and click Enable protection. You’ll be emailed an 8-character code, valid for 10 minutes; type it in to confirm. You can optionally set a password at the same time.
Once protected, picking your name from the list asks for your password or a fresh emailed code. Anything done as you — voting, RSVPing, editing your profile, creating or changing your sessions — needs that login. It lasts a week, or until you switch to a different name.
To turn protection off or change your password, use either your current password or a fresh emailed code — whichever you have to hand. You’ll get an email letting you know the change happened.
Two things worth knowing:
- Codes go to the email address the organizers have on file for you. If you can’t receive it, ask them to check the address. If the event has no email set up at all, protection isn’t available.
- Protecting your name is what makes your sessions yours. Only a session’s hosts can edit or delete it — but if you haven’t protected your name, anyone can pick your name and edit as you. Protection is what closes that gap.
Lost access to both your password and your email? Ask an organizer to update the email address they have on file for you — codes then go to the new address, and you can unlock from there.
Email settings
If the event has email enabled, Settings also controls which notifications you get: when a session you host or RSVP’d to is moved or deleted, when someone adds you as a co-host, and when someone comments on a proposal you’re hosting. These are on by default and can be turned off independently. One further setting is off by default: emails about every new comment on a proposal you have commented on yourself.